I’m not the only one excited about the idea of having queens directly lay queen-destined eggs. See this excellent post from a beekeeper in the UK, who has also found Rebecca Noll in New York, and Adrian Tonks from New Zealand, who are running similar trials with different approaches.
I suspect that our collective observations will lead to some interesting lessons about how workers and queens go about their queen-rearing processes!
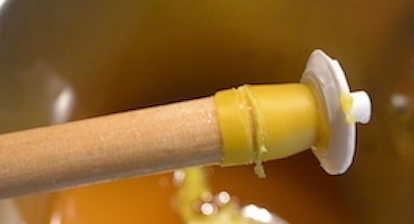
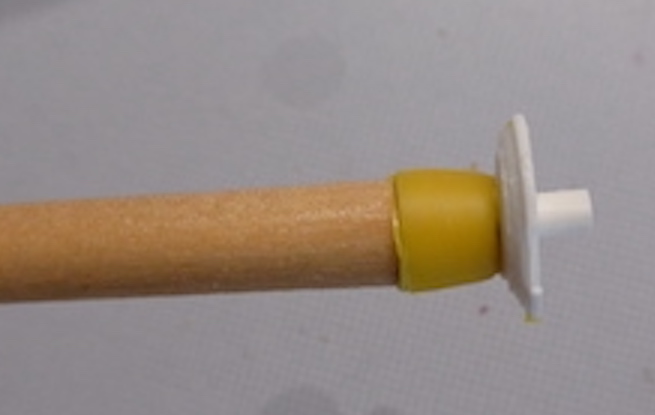
On 23 April I started an initial round of testing. I had two immediate goals: find out the quirks of using a queen isolation cage, and test the question of “will the queen lay in queen cups if that’s all she has?” I used the queen bar, side-face, and 75% frames for the first runs.
The three selected hives had a deep / medium box configuration. They had varying amounts of brood, and at least 70-75% population of workers filling the colony. All colonies had mature drones as well as drone brood. None of the colonies approached swarm conditions; the worker and drone populations were too low, and they had adequate space for the queen to lay.
Due to the weather, I ended up monitoring them every 48 hours, instead of my target 24 hours. After 96 hours I released all of the queens back into the hive to allow them to build up the colony more for my May trials.
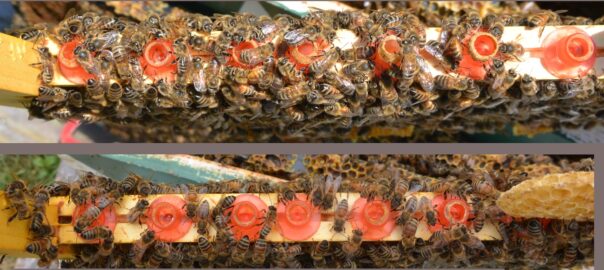
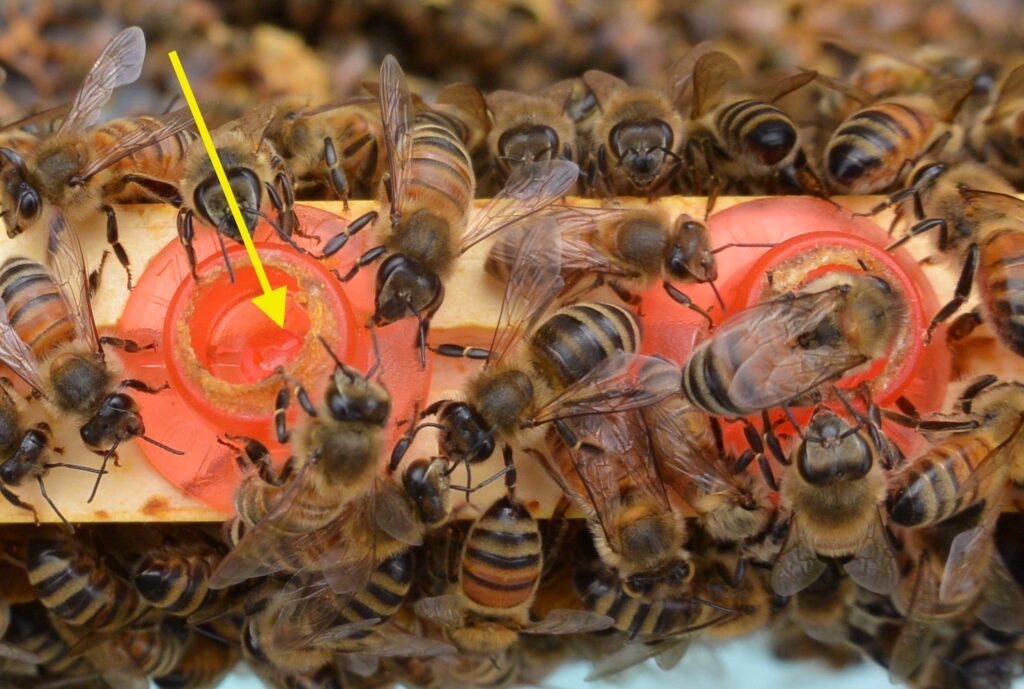
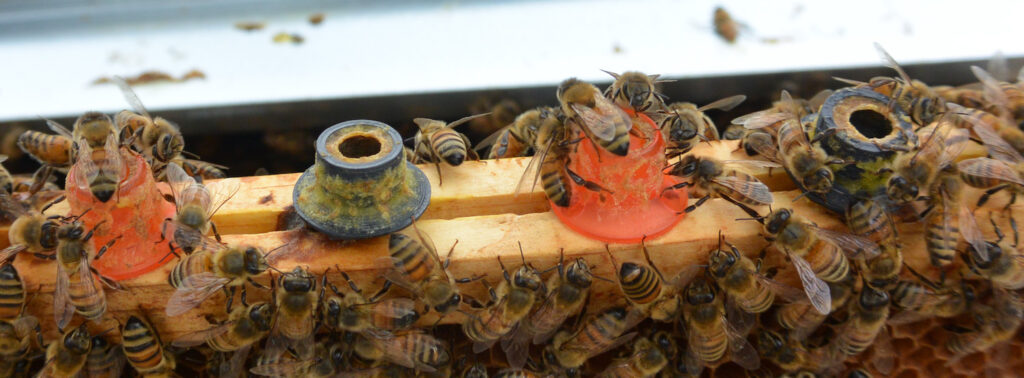
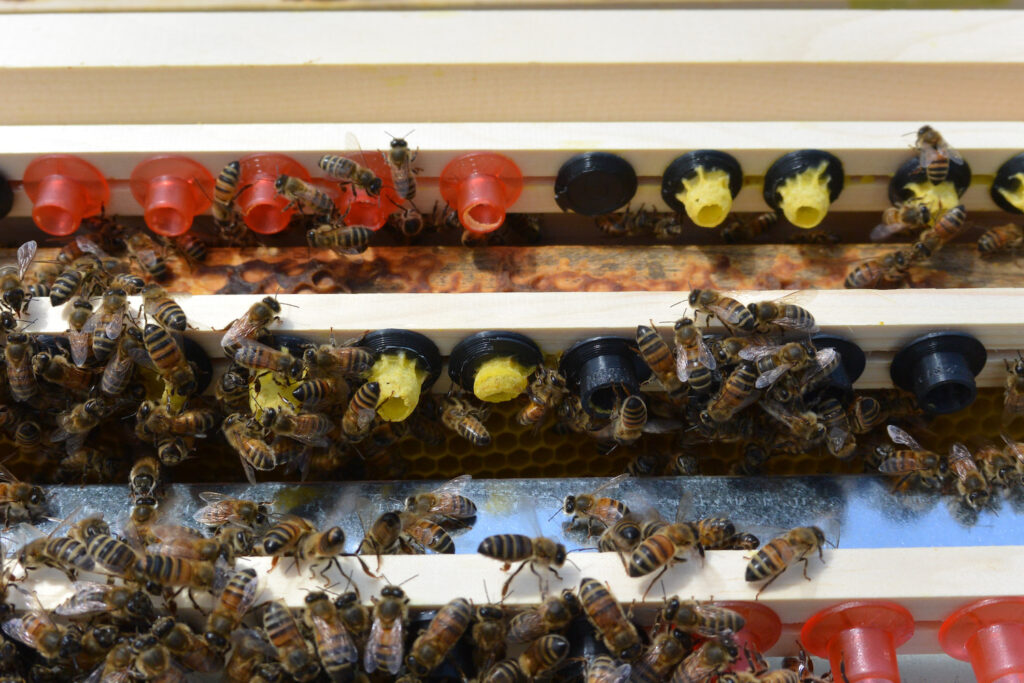
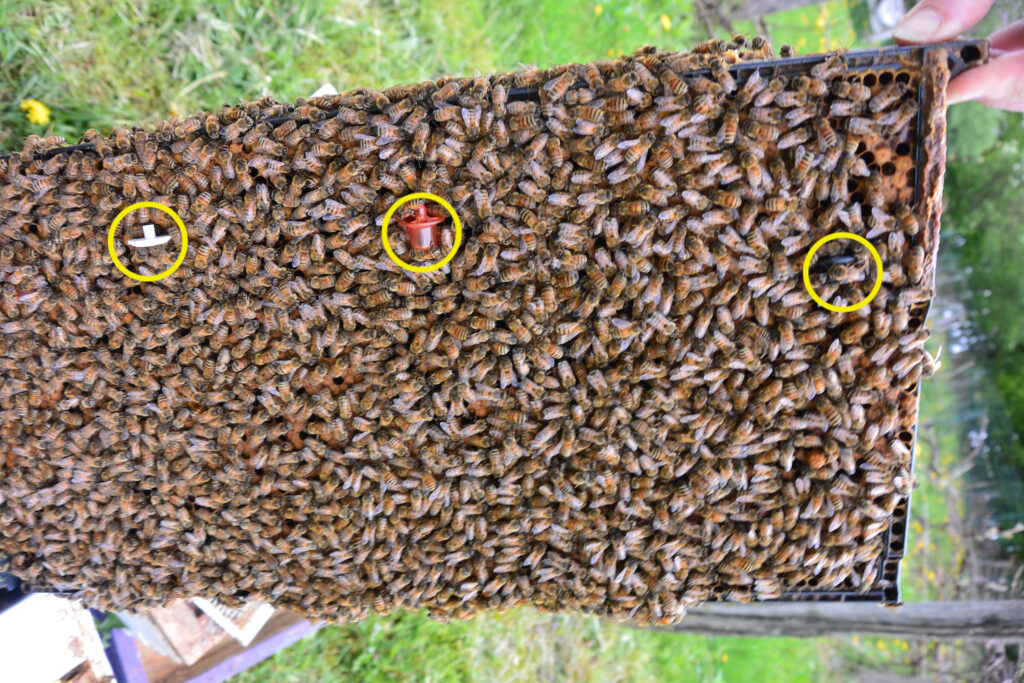
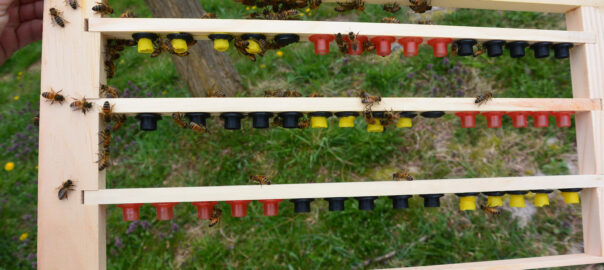
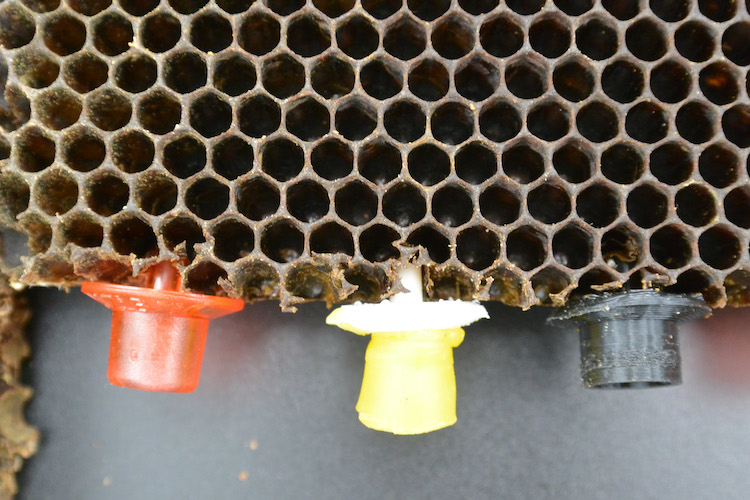
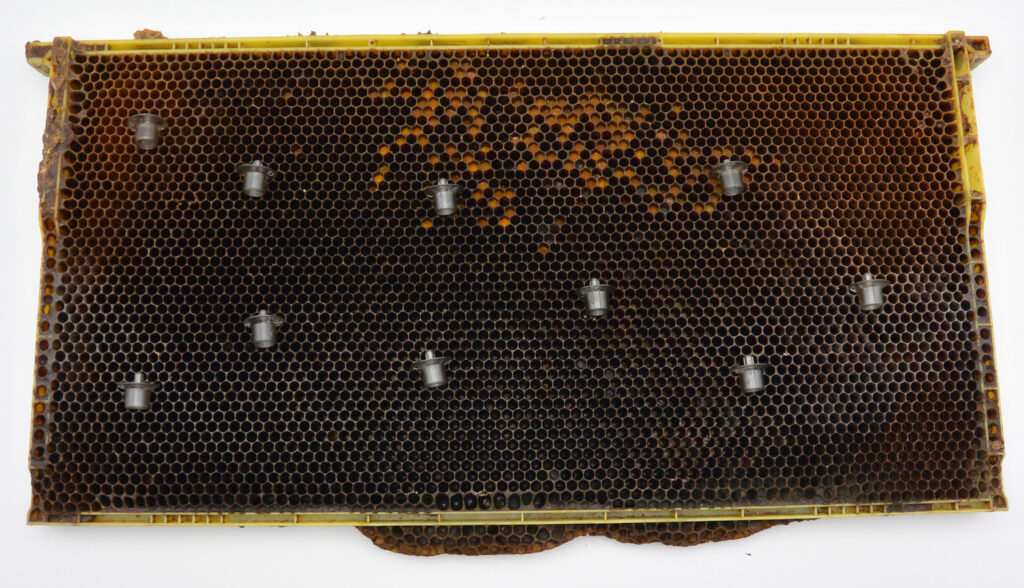
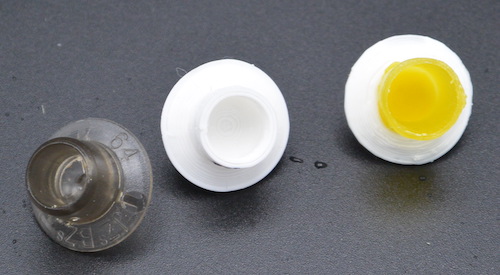
Queen Bar
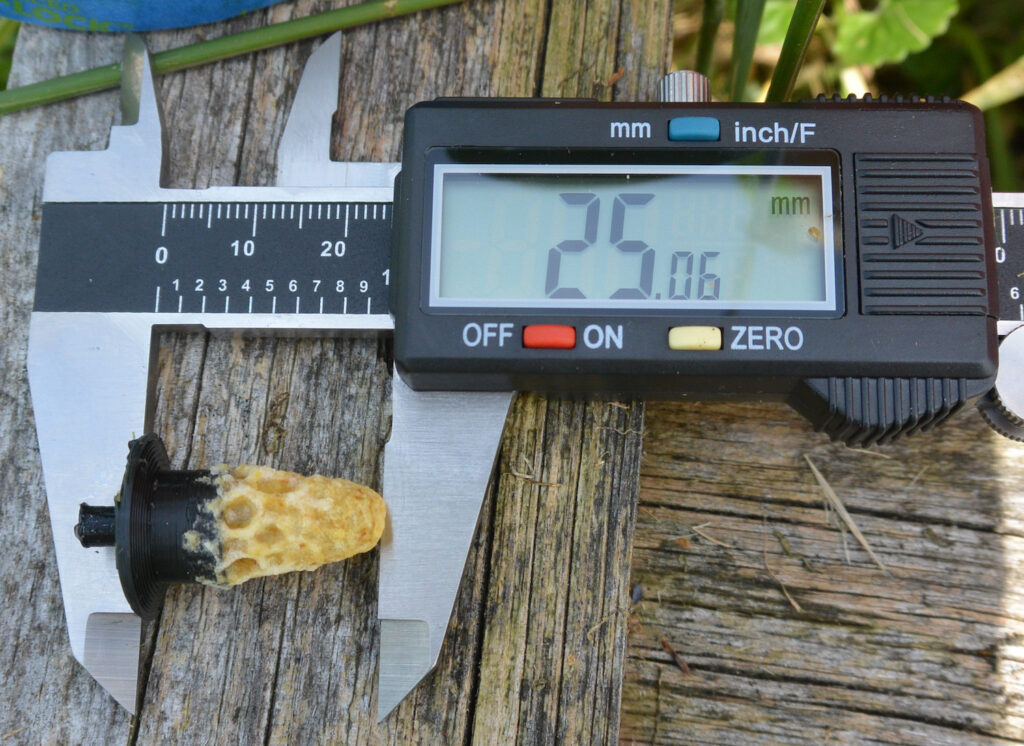
After 48 hours, there were no eggs in the queen cups, nor had the few workers in the cage with her started to draw out any of the cells.
After 96 hours there were still no eggs in the cups. The workers had started to reshape the wax cups I’d used into “proper” queen cup shape, but had not started to draw out any other comb on the frame.
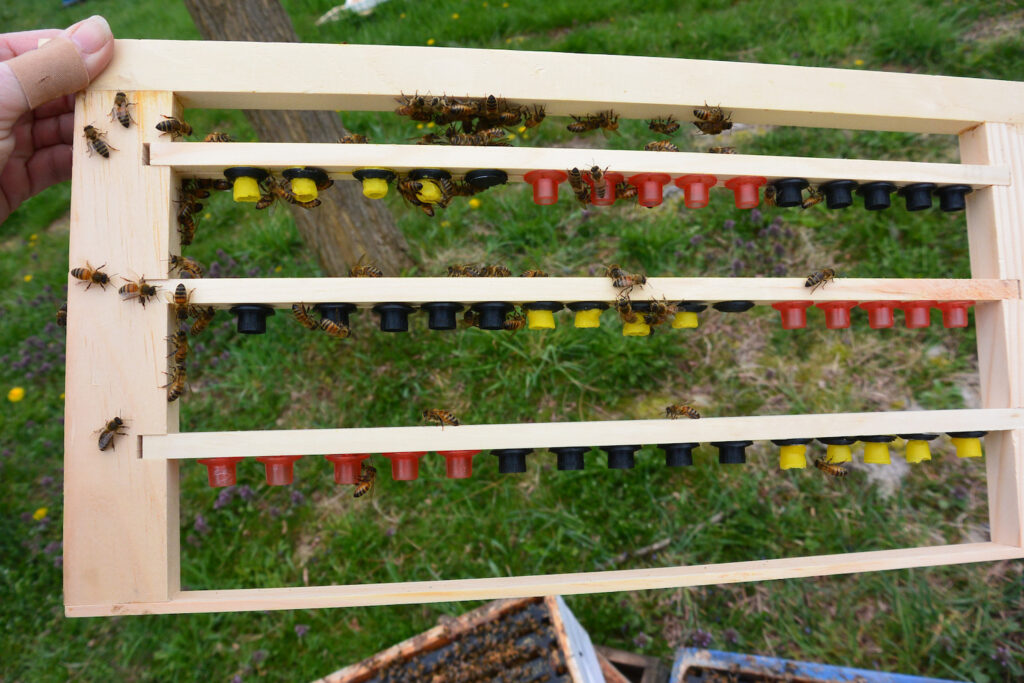
A queen can lay up an entire frame in 48 hours (see below) so she either did not lay in the cups, or laid in the cups and the workers removed the eggs.
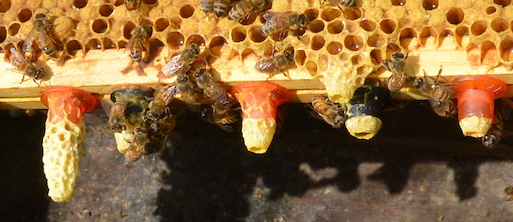
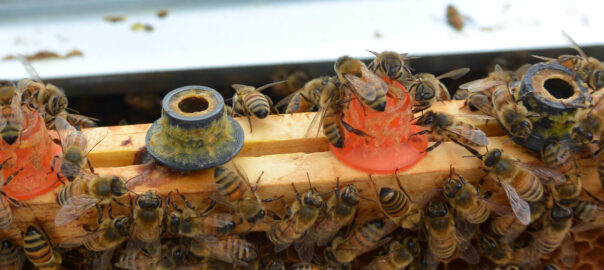
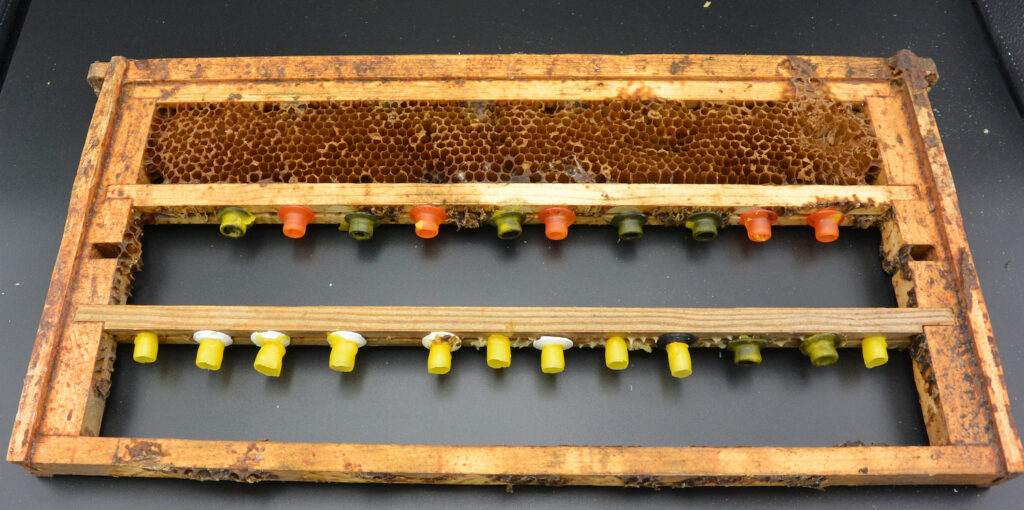
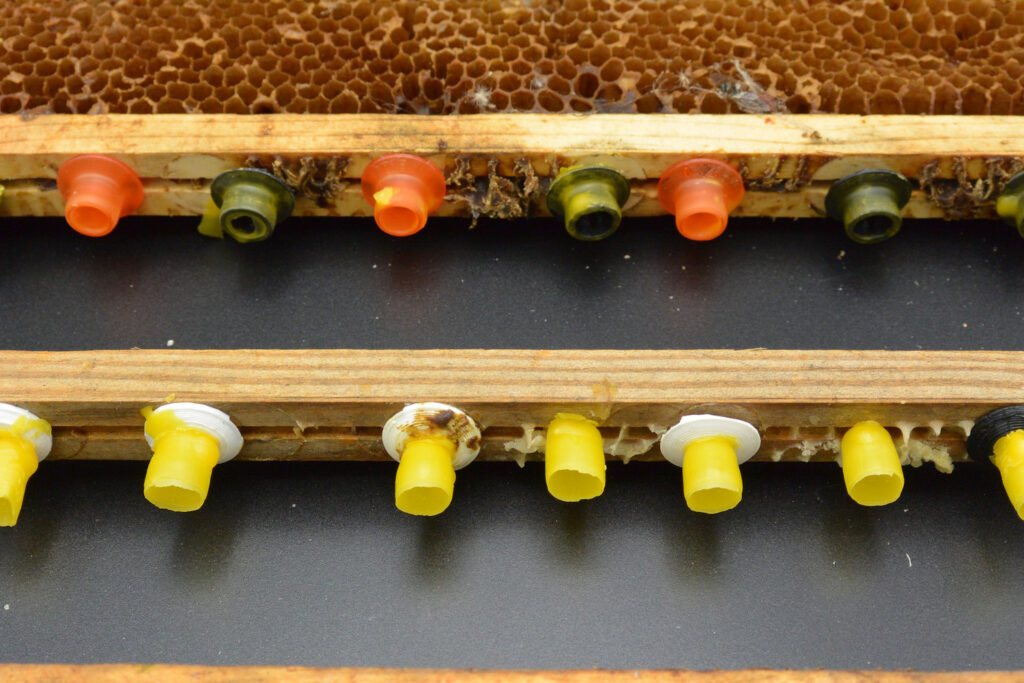
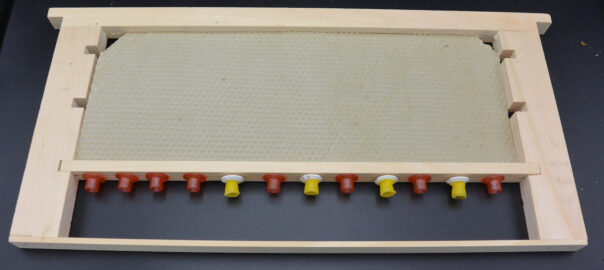
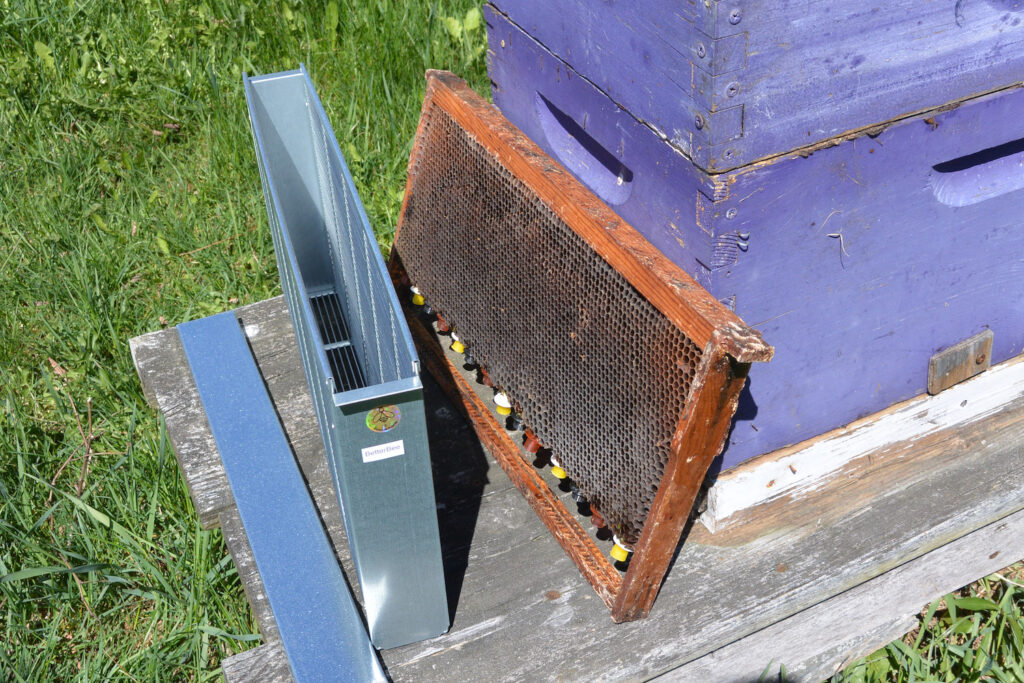
Side Facing
For this trial I removed a frame that was largely filled with eggs and young larvae, and pressed my cups into the side of the frame. As I mentioned in the previous post, I had trouble with the cups and the width of the queen isolation cage. I had much better luck (obviously) attracting the workers into the cage with the queen, but still no eggs in cups even after 96 hours.
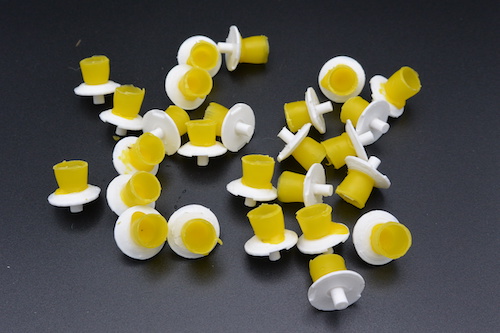
Something interesting about this colony: they had started to reshape the wax cup into a queen cell, taking my carefully-crafted 9.5mm wax cups and narrowing the entrance diameter. (This cup was not charged.)
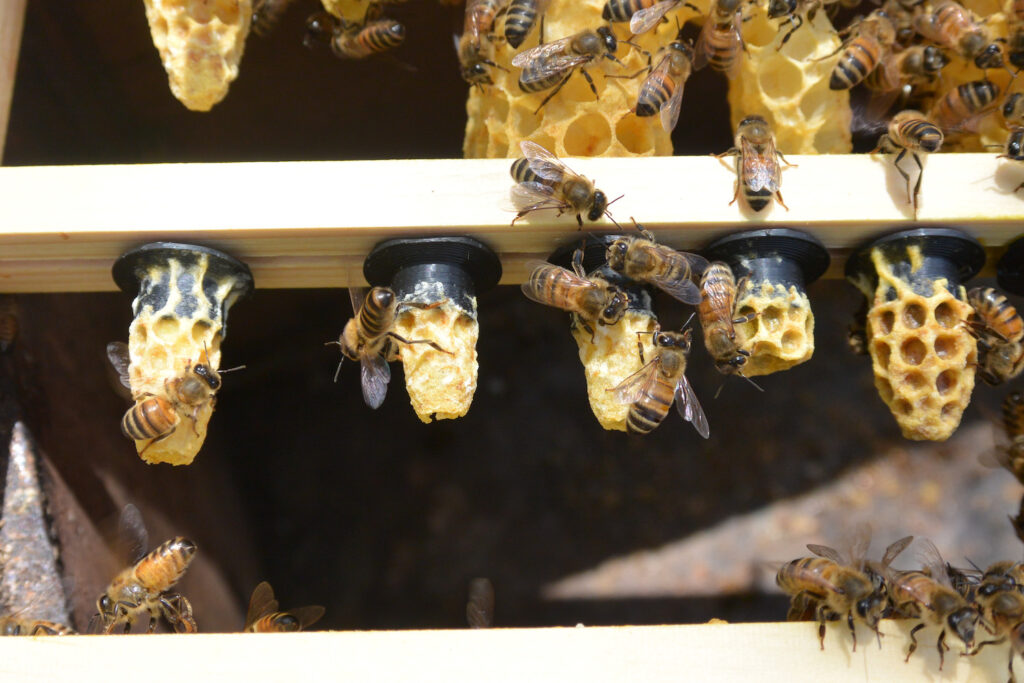
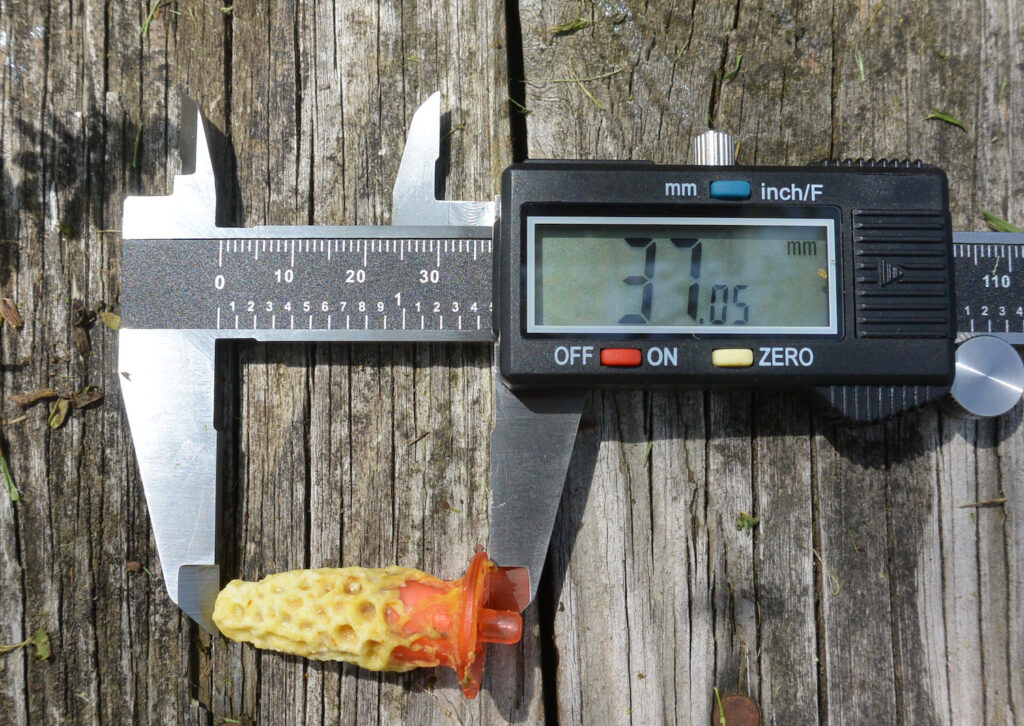
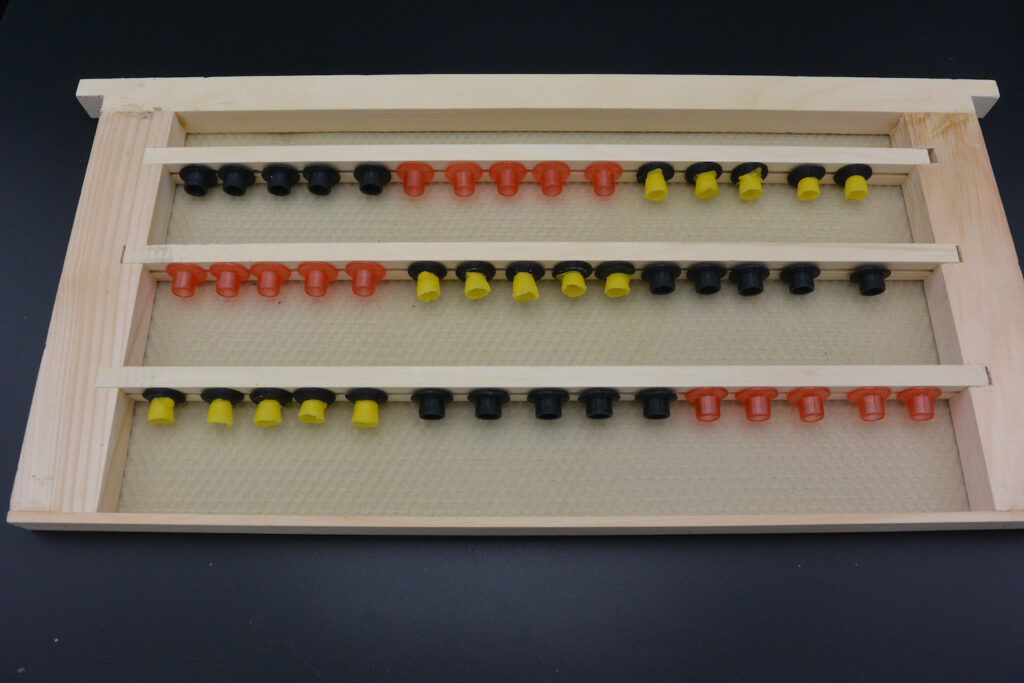
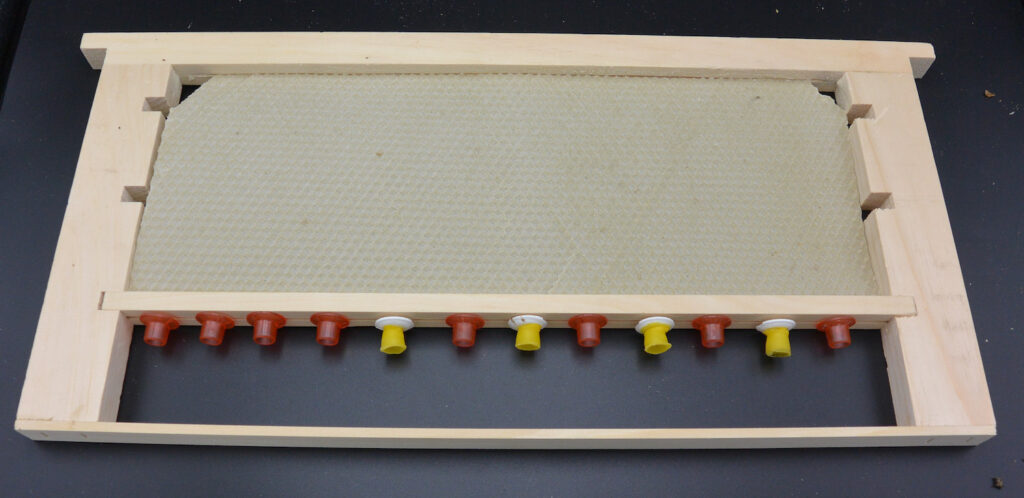
75% Frame
I used the empty frame I’d set up for this trial. This gave the queen lots of room to lay, then left her with just queen cups. Similar to the other trials, by the time I released the queen at 96 hours, there were no eggs in the cups. By 48 hours she had laid eggs in 90% of the frame so there’s nothing wrong with her laying rate!
Thoughts on the Trials
I did not have expectations that I would find eggs in the queen cups. This matches an experience I had in 2023 with a quick and dirty trial using a queen cell bar. The bees just started making worker comb on it. Whether the queen or workers are responsible for this result I can’t say without directly watching the queen’s and workers’ behavior.
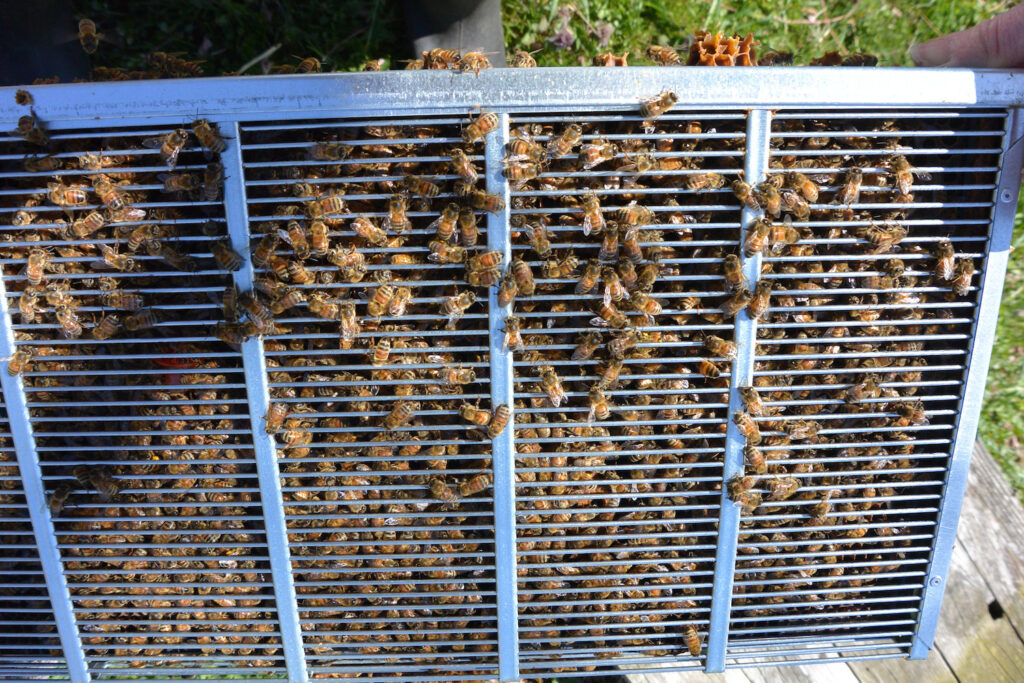
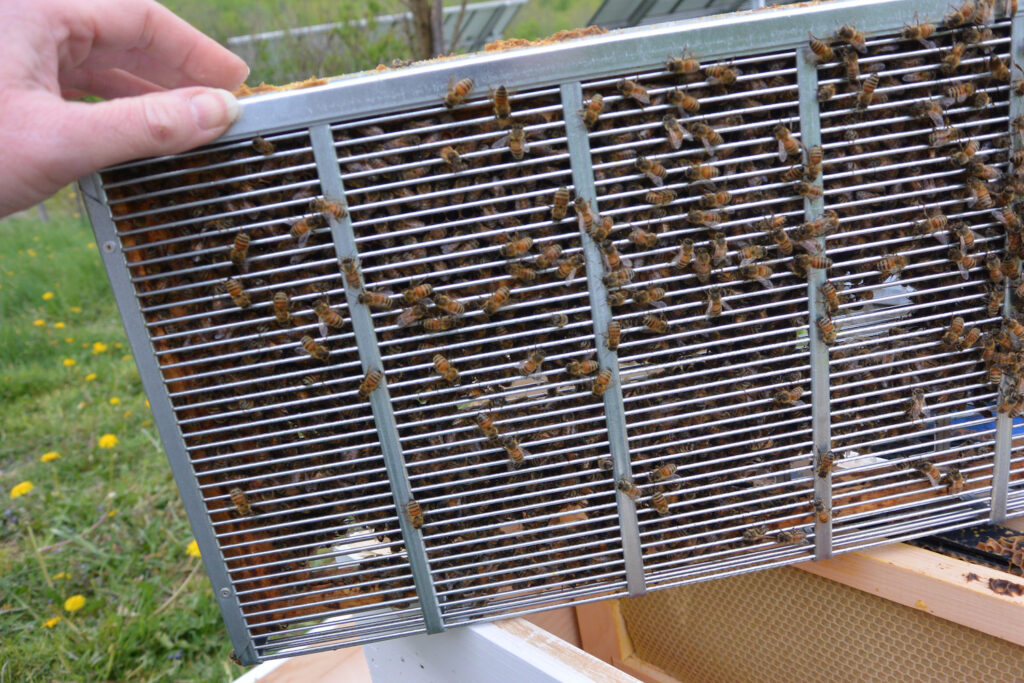
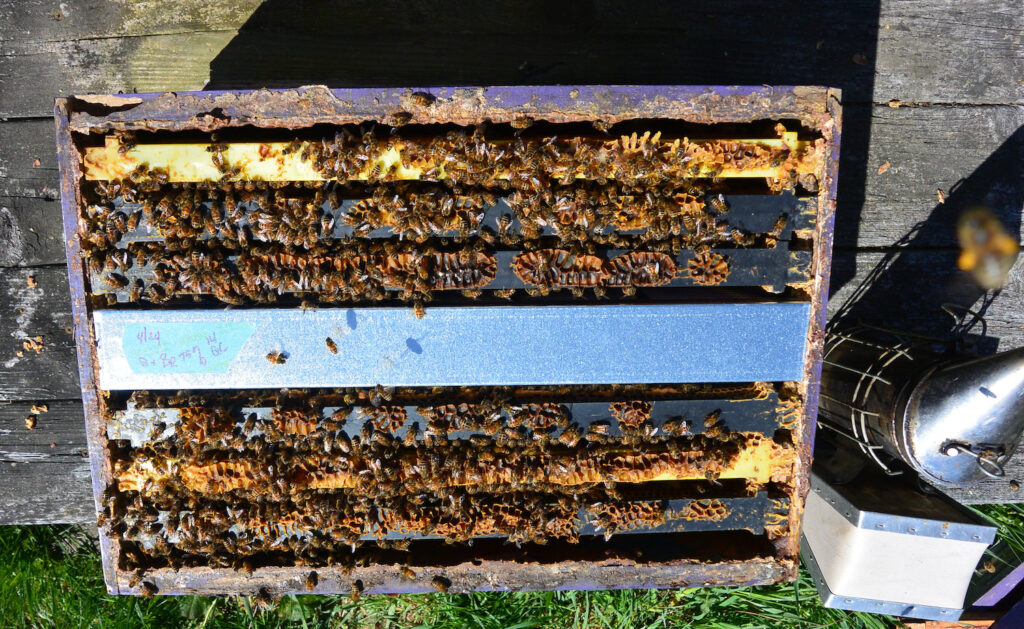
Finding the queen to isolate her was the most time-consuming part of the process. Having an empty nuc box to one side helped a great deal. I could ready my queen cage in the nuc box while I hunted through the hive — or use it to set aside frames I’d already searched.
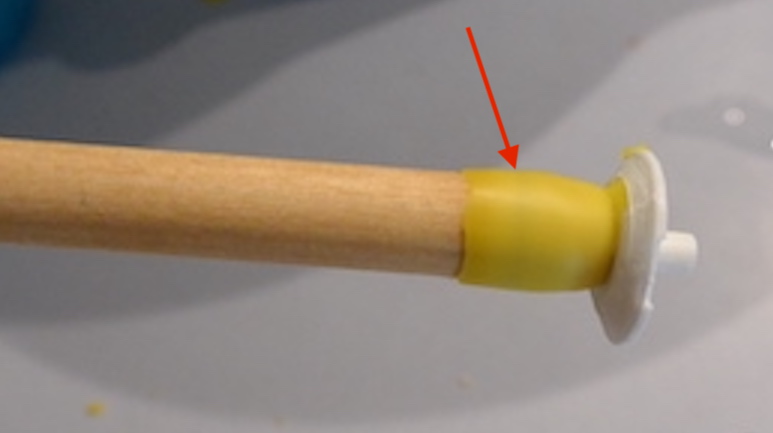
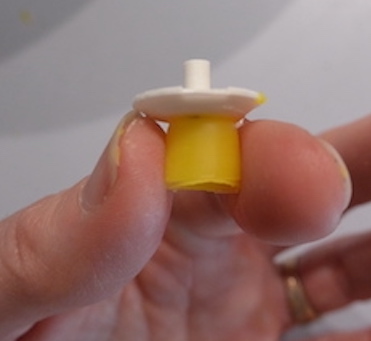
The isolation cage take a bit of getting used to. They’re designed to fit snugly against the rabbets of the brood box, so if there’s accumulated wax or propolis you need to scrape that away for everything to fit properly.
 This material is based upon work supported by the National Institute of Food and Agriculture, U.S. Department of Agriculture, through the Northeast Sustainable Agriculture Research and Education program under subaward number FNE24-102. Any opinions, findings, conclusions, or recommendations expressed in this publication are those of the author(s) and do not necessarily reflect the view of the U.S. Department of Agriculture.


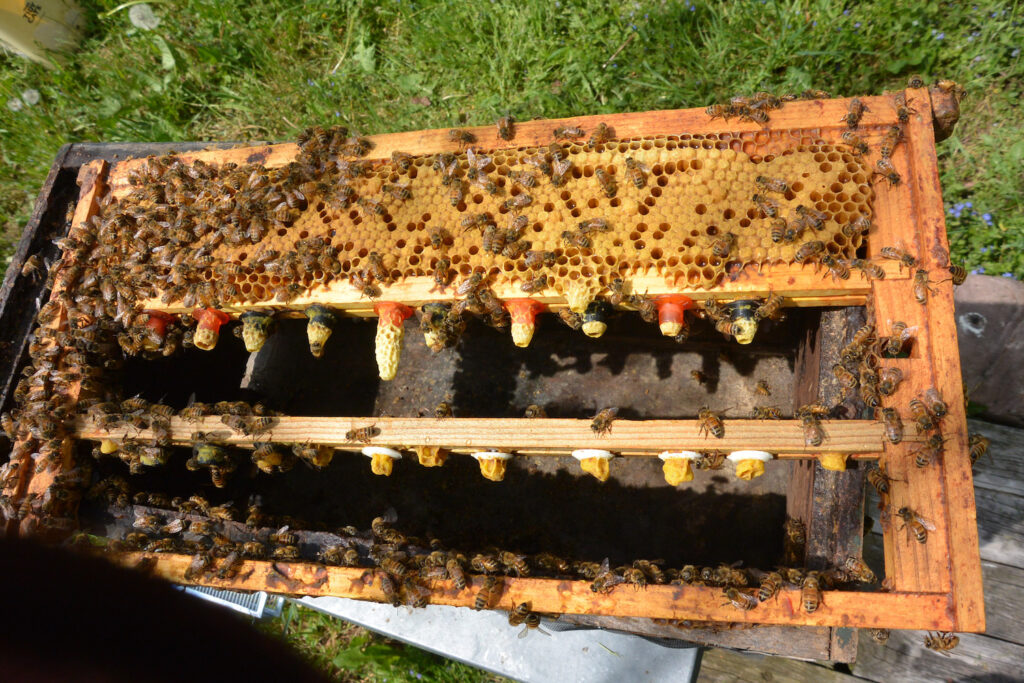
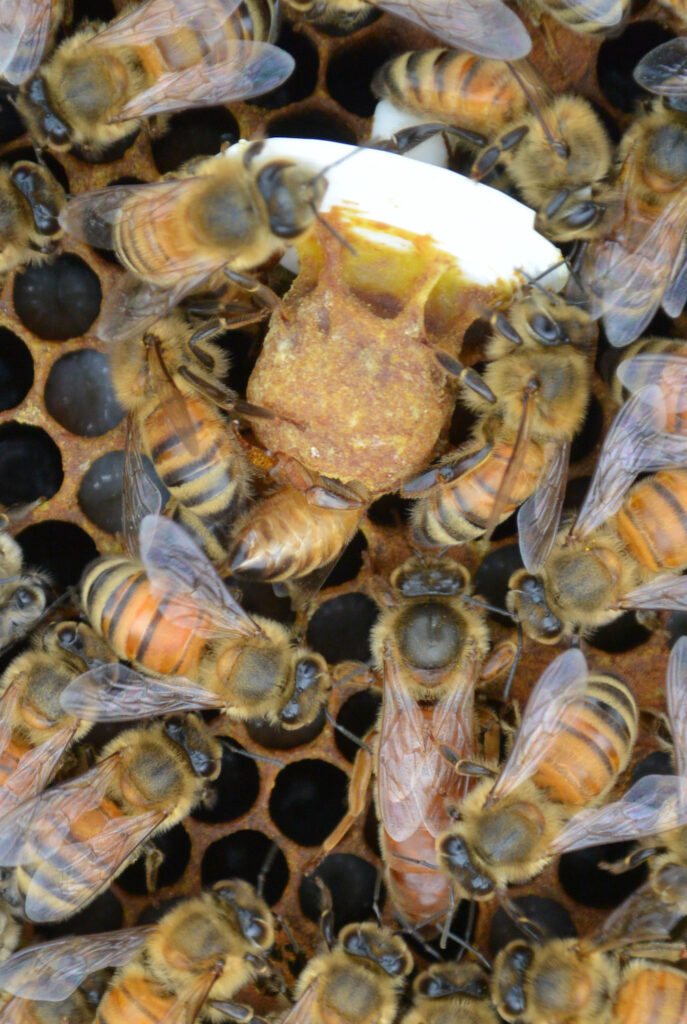
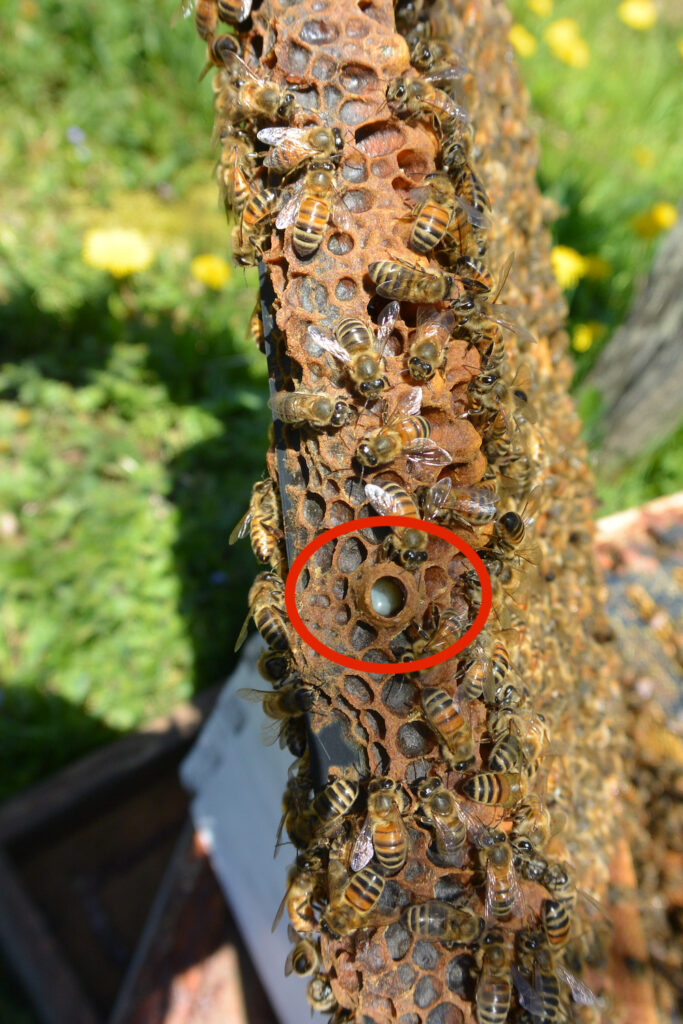
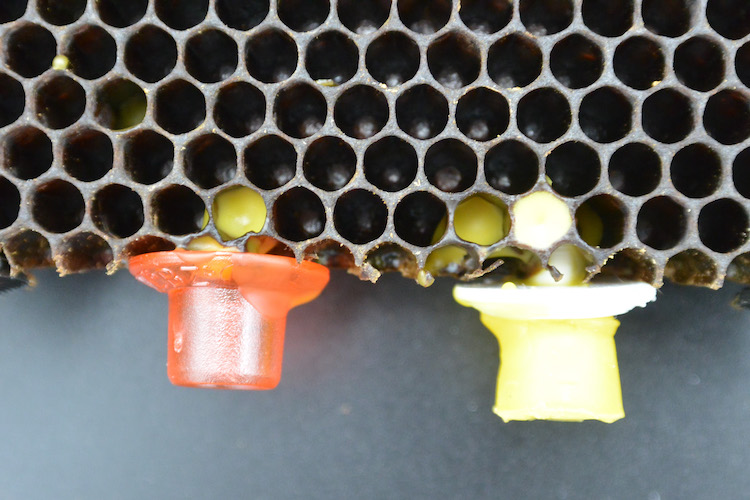
 In Hive 1, I saw some promising signs: an egg!
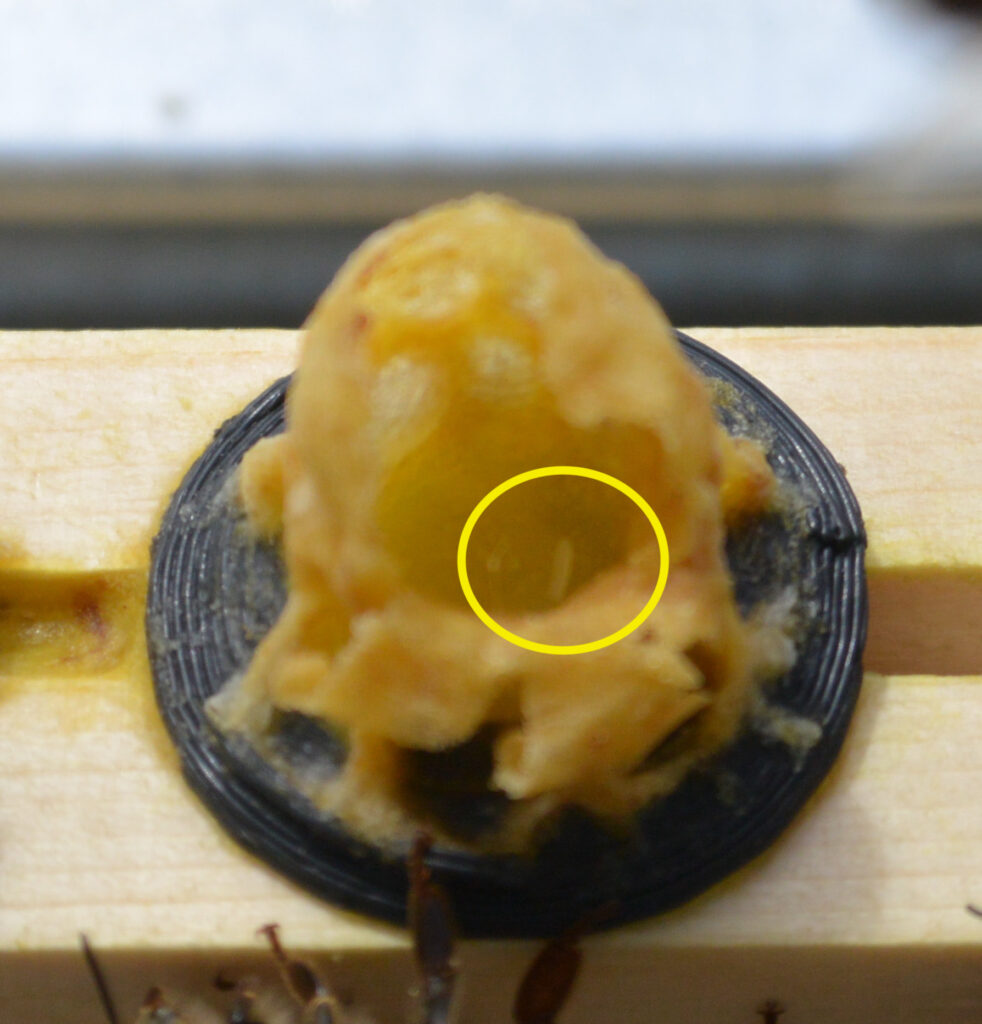
 Now that I have queens in process, I’ll leave this for a week and then swap this frame for another model. Then I’ll know how many queen cells I have started on this queen bar.
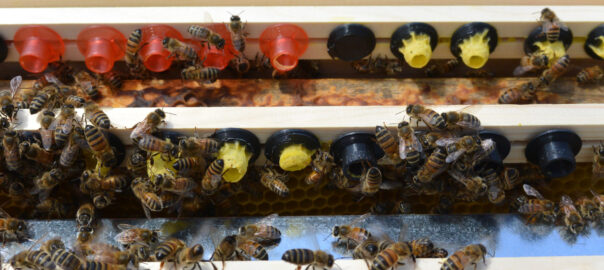

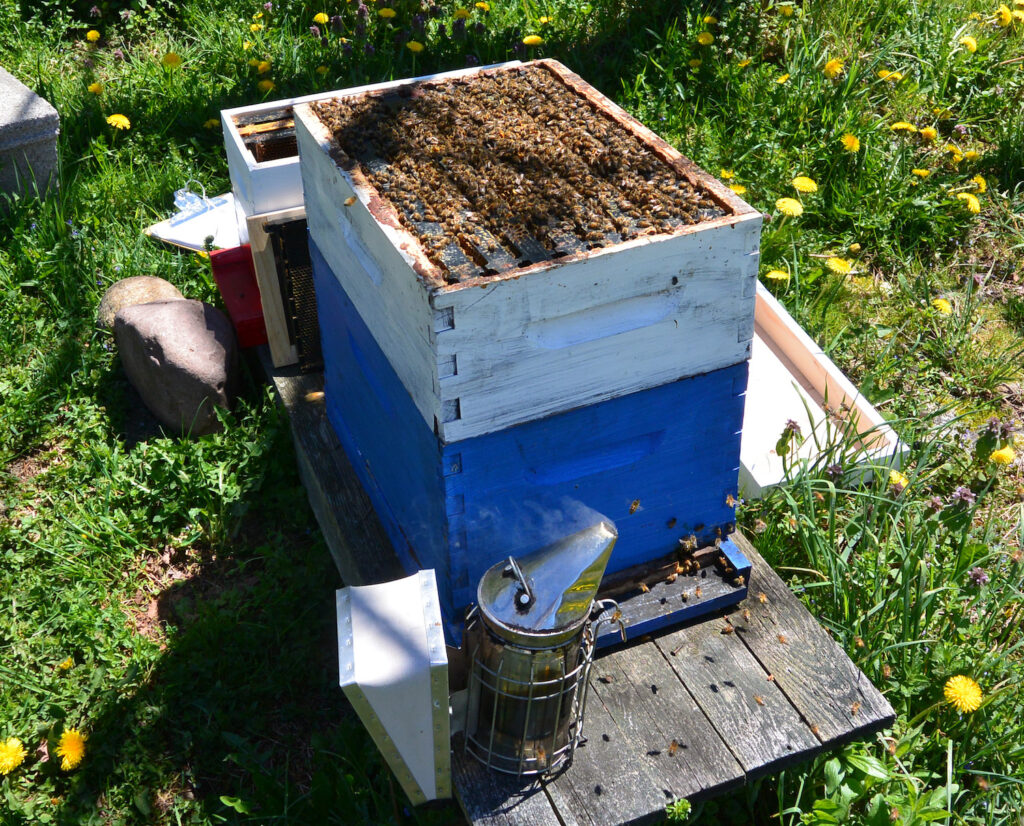 The bees look like that all the way to the bottom. When the foragers out gathering pollen and nectar return for the night, it’ll be chock-a-block full.
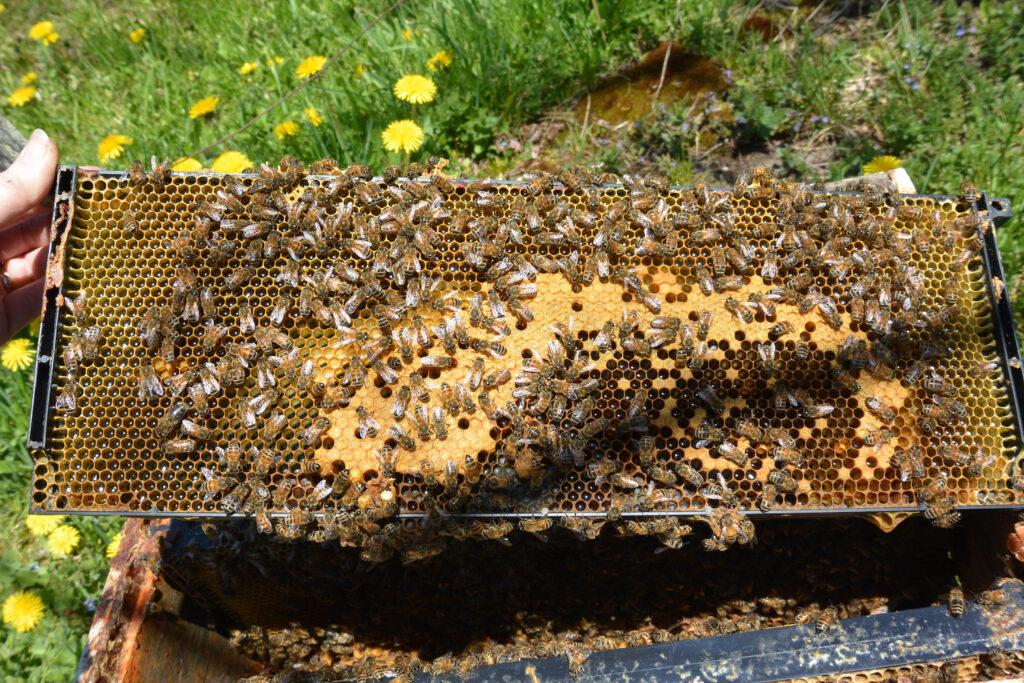


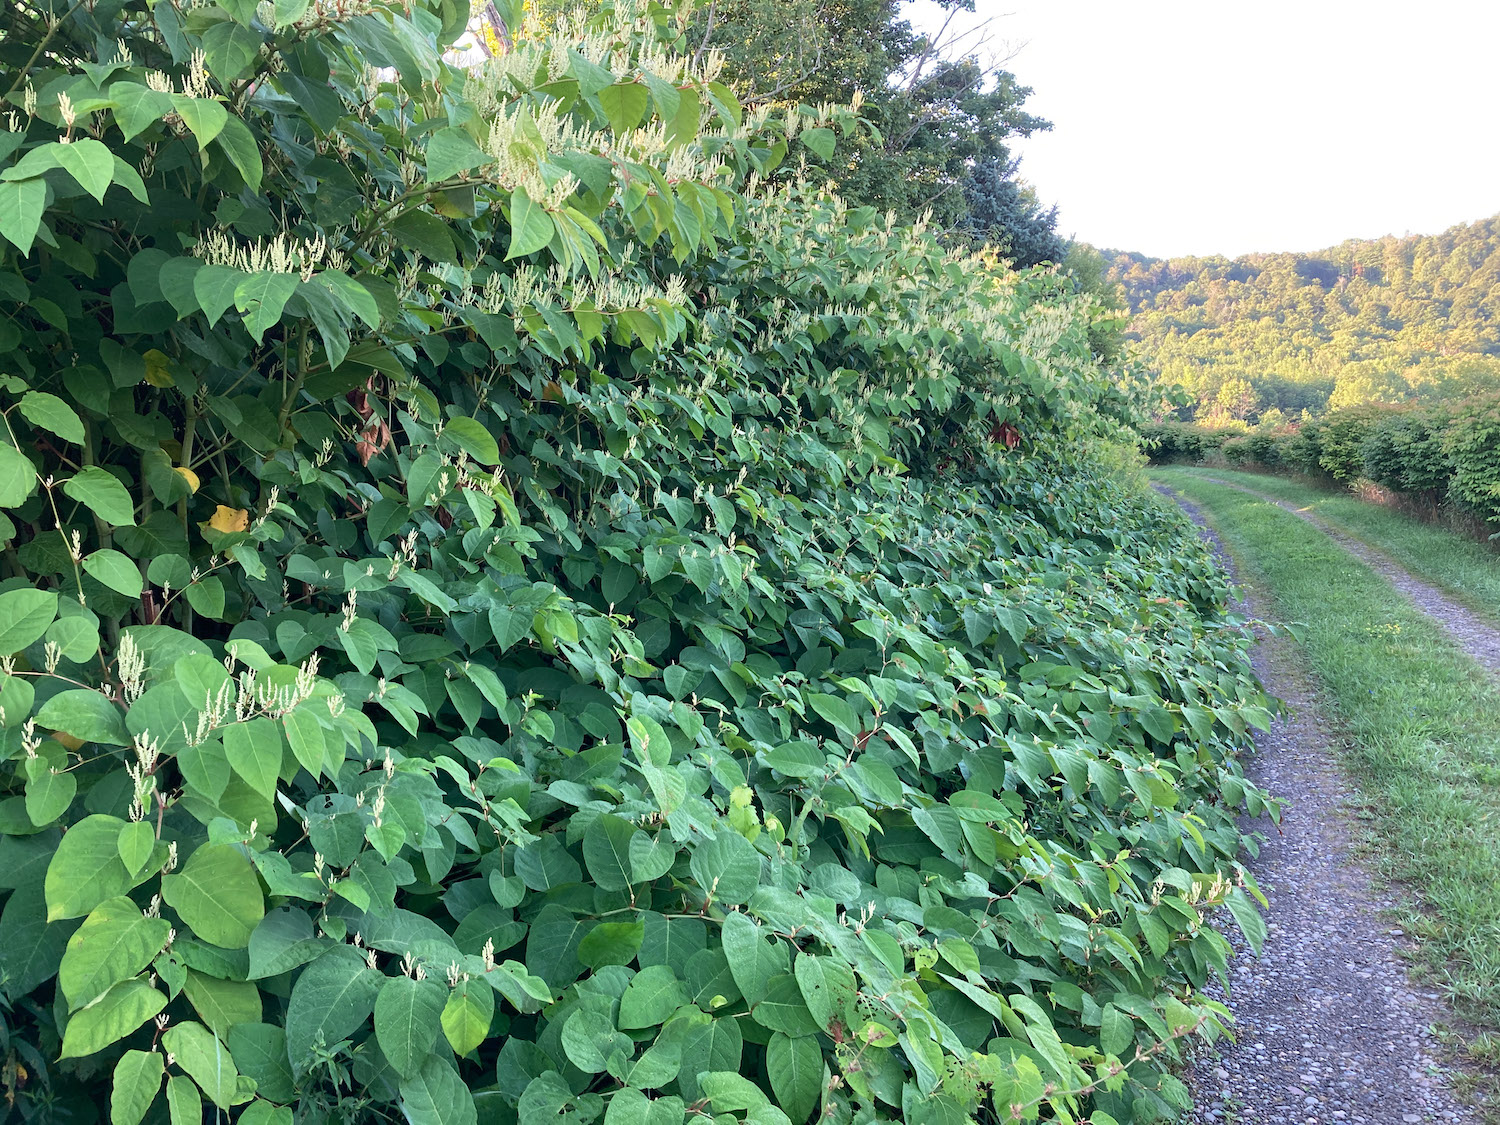
 Nary a bloom in sight where I wanted a river of flowers. I will have to try next year, and hope the weather cooperates this time.