It’s been an educational time setting up frames for the summer trials, and running initial tests to learn what I don’t know about the equipment (and the bees). Breaking it down by frame type:
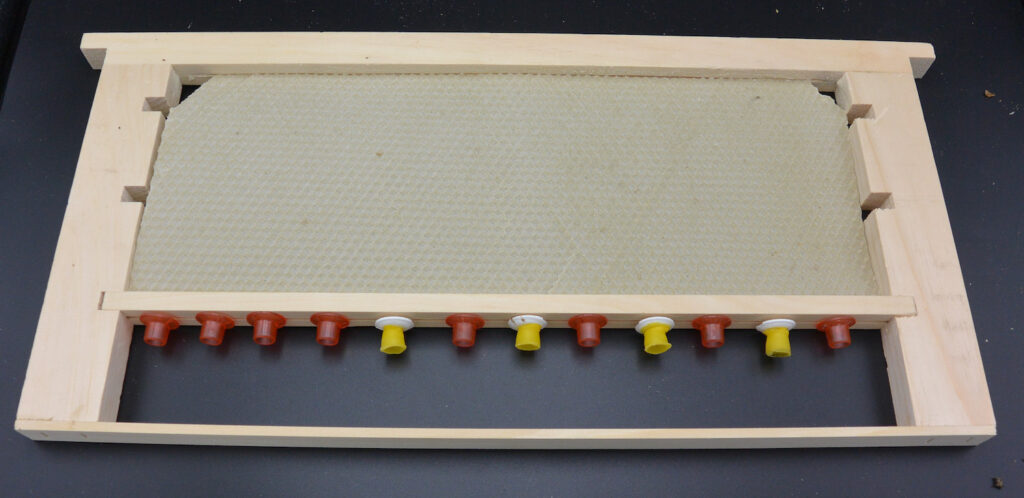
Straight Queen Bars
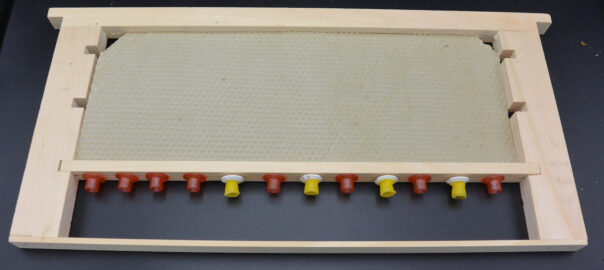
My dream configuration: you just put a queen bar frame into a cage with the queen and let ‘er rip. This would give the queen breeder the ability to generate a large number of queens at a time. (The wax foundation is behind the frame only to make it easier to see in the photography.)
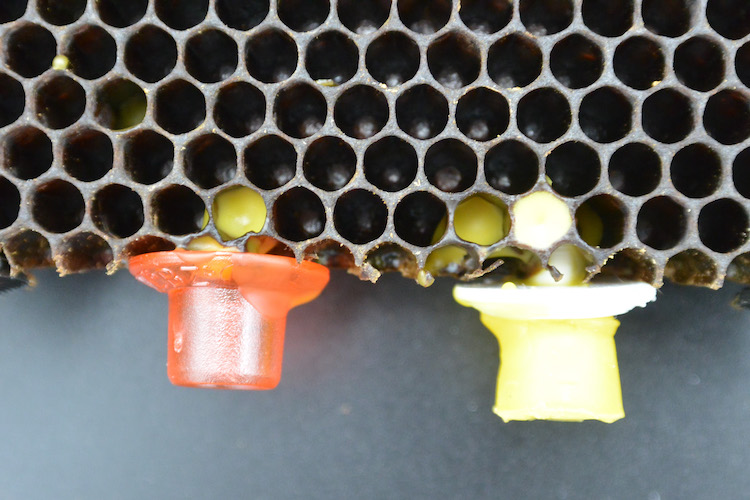
Two challenges from this design. One is that when I drafted my queen cup files, I used a queen bar that I’d used in the past and not a brand-new bar. Turns out that the gaps where you push the stems of the cups are different sizes and the larger, printed cups don’t fit well. This is particularly problematic with the bases for the wax cups; the bases flex and the wax cups can pop off.
The 75% Solution
Working from observations that beekeepers generally find swarm cells toward the bottom of the frame, I took a frame of drawn comb, and with a little help from a ruler and dremel tool took off the lower 25% of the comb. I then pushed my cups into the wax at the bottom.
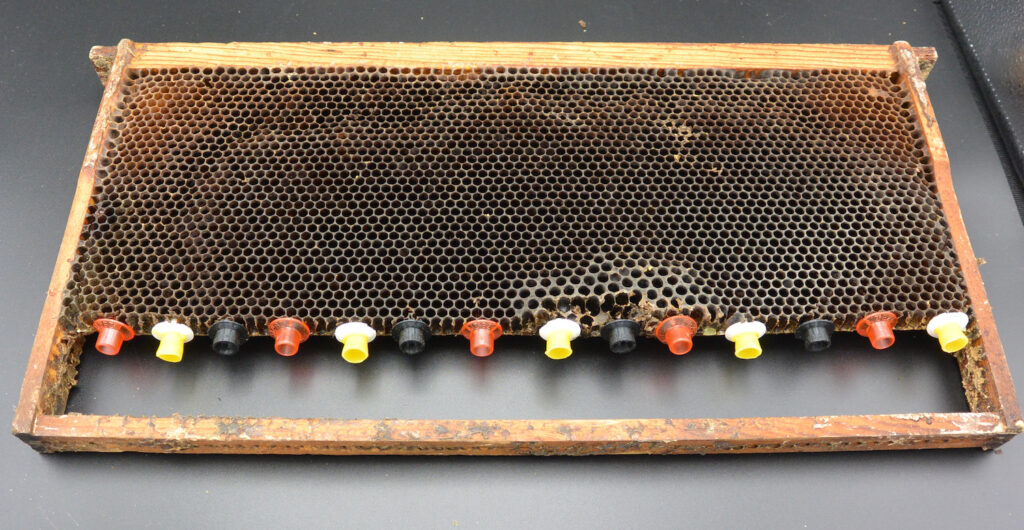
As you might guess, the cell cups don’t want to stay in the frame — the stems aren’t long enough to penetrate through enough wax cells.
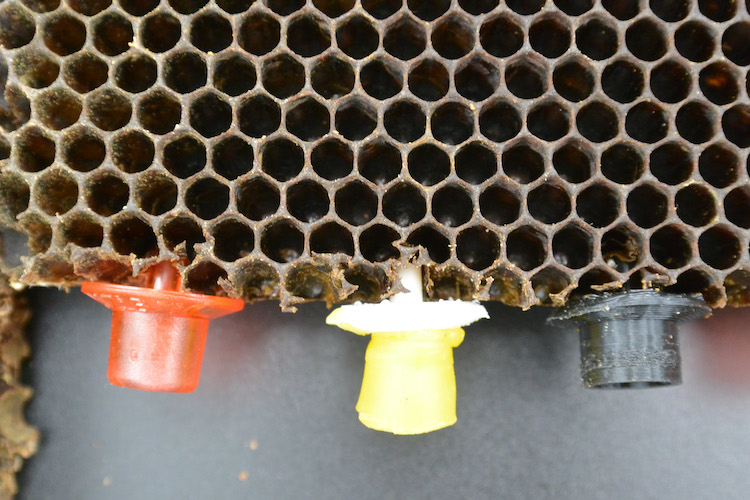
A couple of drops of beeswax glued them in.
I went this route mainly because of the drawn comb. The better approach uses a queen frame, with a bar at the lower quarter. This will make it much easier to generate queen cells repeatedly. I have two of these in hives for the bees to draw out the upper 75% of the comb for further testing this summer.
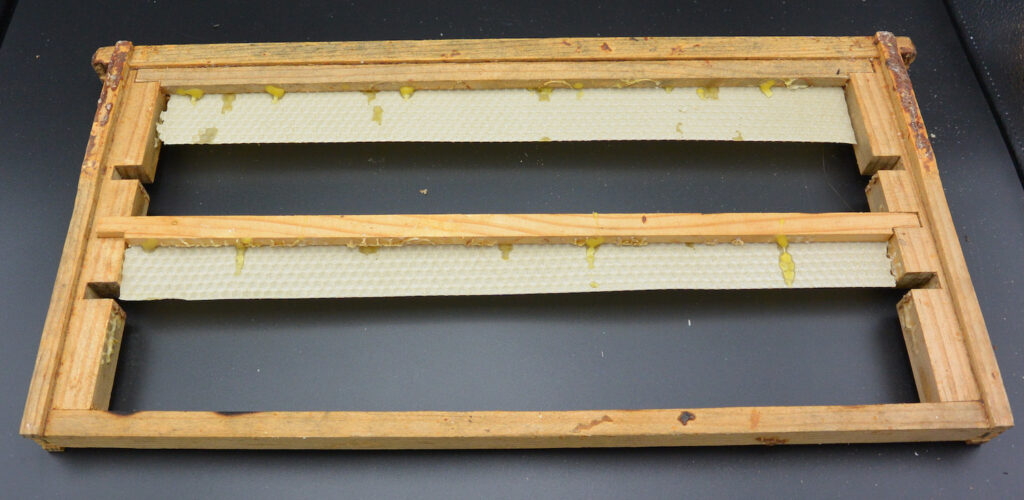
A 50/50 Approach
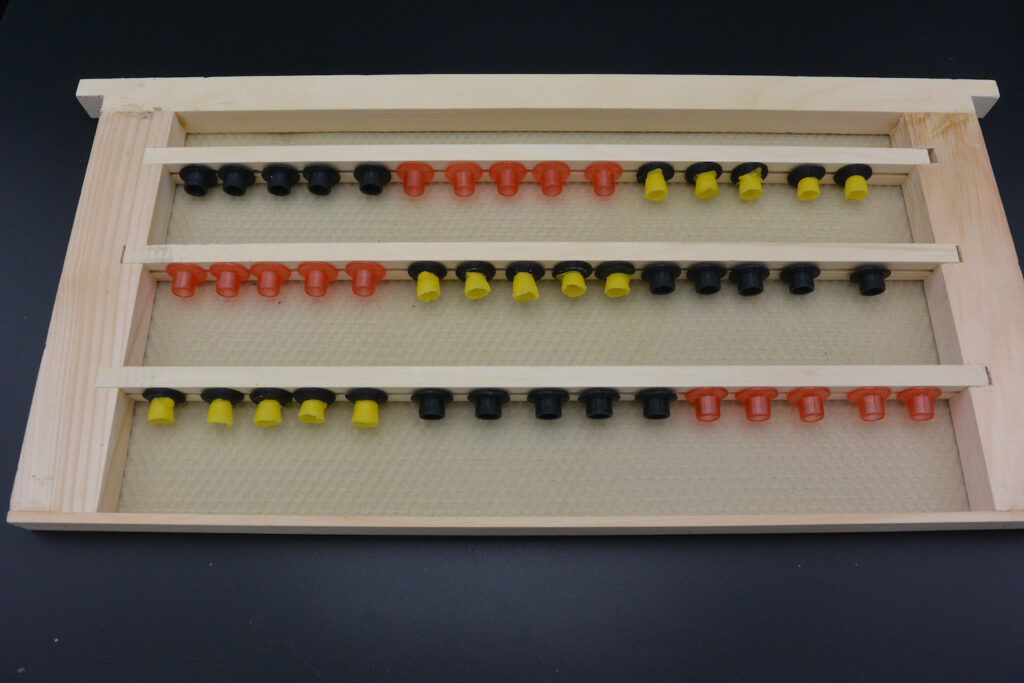
Unfortunately, my new queen frames don’t have the perfect configuration for bars for a 50/50 approach similar to the 75% version. A different style of queen frame I had on hand was a little more amenable to my purposes. We’ll see how the bees draw this comb out and then I’ll decide if/how to use it in the hive. I would like a row of cells at the bottom of both starter strips.
Coming From the Side
This image is from my grant proposal, since I apparently neglected to photograph the one I used in my initial trial last month. Again working with what we see in the hives, offering cups that are randomly arrayed on the side of the frame.
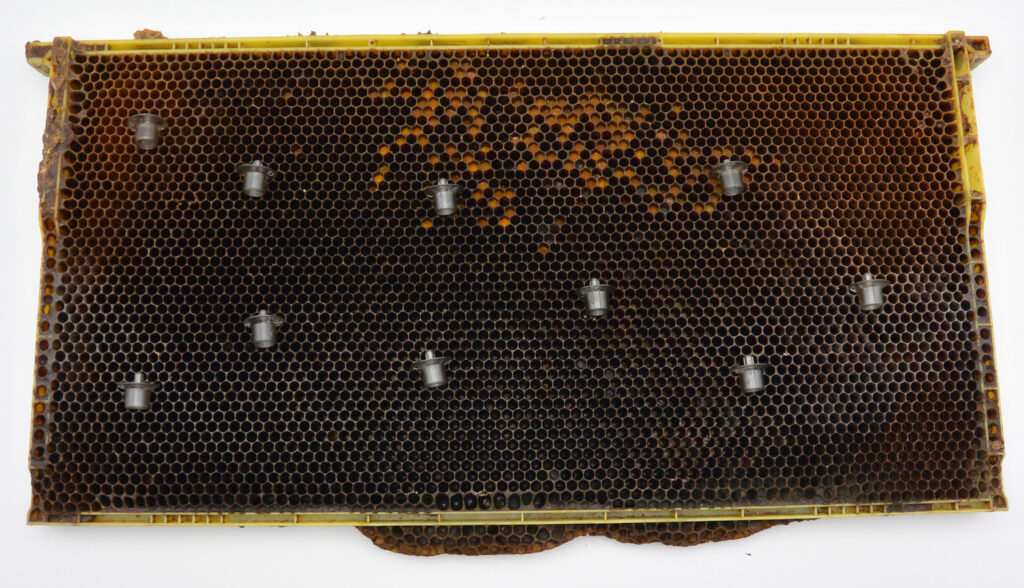
The cups are stable in the wax, but the queen cages aren’t wide enough to accommodate the frame and the cups. When I inserted into and remove it from the cage, some of the cups popped off. Rather than center it in the queen cage, I might be able to align it to one side and have better success.
The Queen Cage
The “Queen Cage” I repeatedly reference is a deep frame isolation cage purchased from Betterbee. The frame fits in the cage, you put the top on and insert it into the hive.
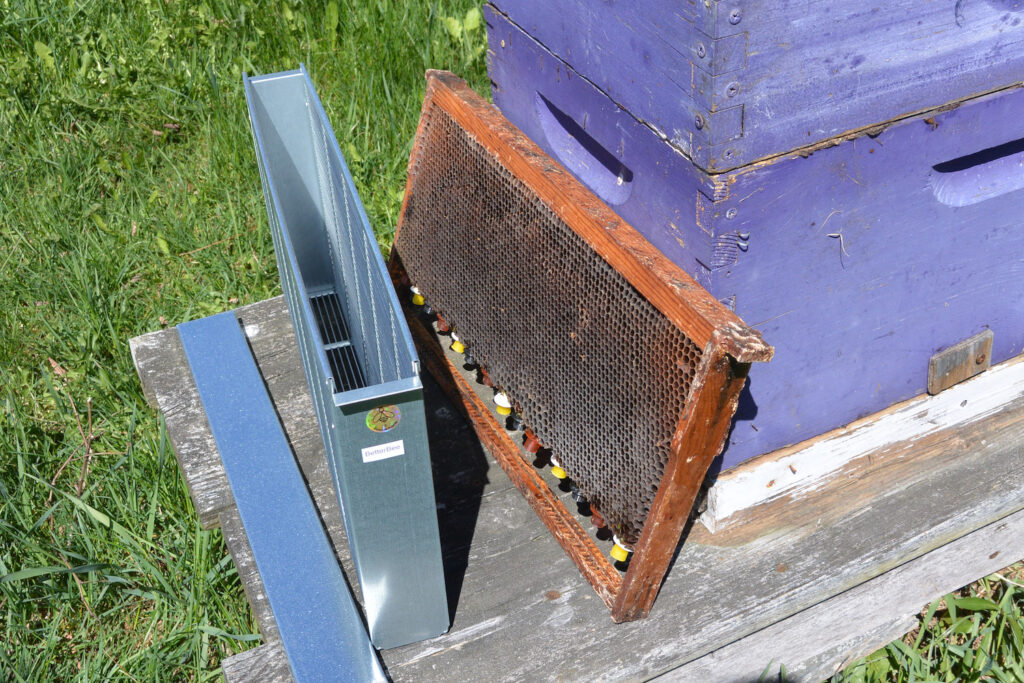
In order for it to fit in the hive, you do need to remove a frame to make everything fit.
 This material is based upon work supported by the National Institute of Food and Agriculture, U.S. Department of Agriculture, through the Northeast Sustainable Agriculture Research and Education program under subaward number FNE24-102. Any opinions, findings, conclusions, or recommendations expressed in this publication are those of the author(s) and do not necessarily reflect the view of the U.S. Department of Agriculture.