All posts by HoneyApple Hill

A close up of a charged queen cell.

Summer 2025 Trials

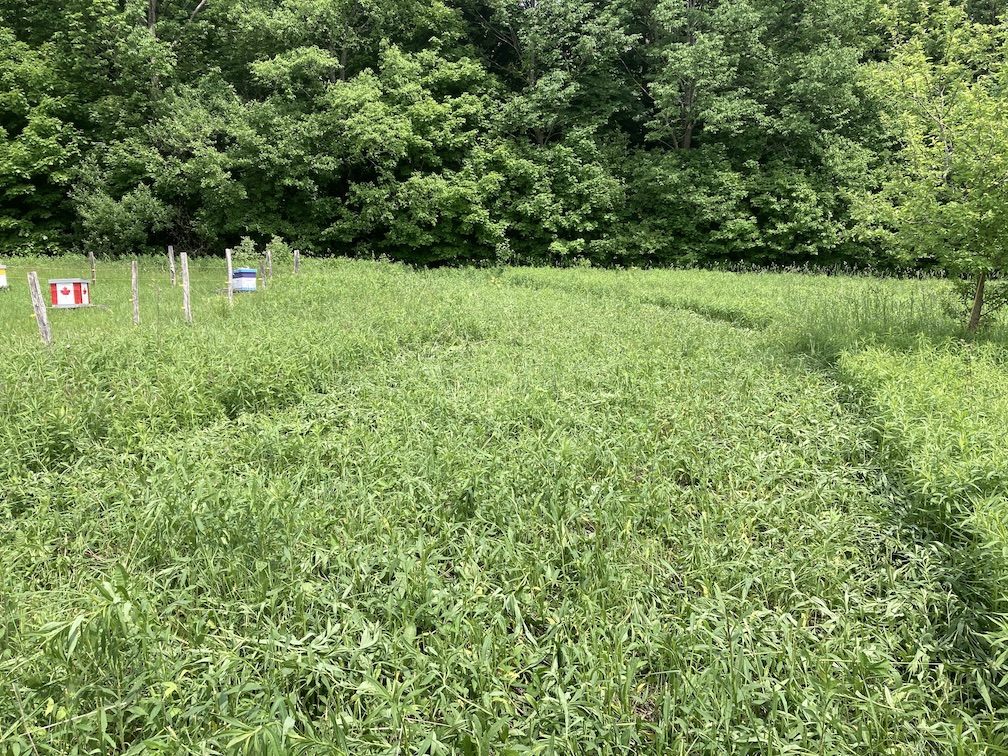
On April 23 I started another round of swarm queen trials. This summer I and my volunteers will focus on the nuc production process I hinted at in my last post. In a nutshell, I put the queen frame in a nuc, and push that nuc to the swarm point, leaving the queen free to roam the colony.

This nuc colony had to draw out the swarm queen frame from scratch – they just had foundation to start with. They went gangbusters, drawing drone comb over the queen cups:

The swarm queen frame is drawn, but there is drone comb at the bottom where the queen cups are placed.

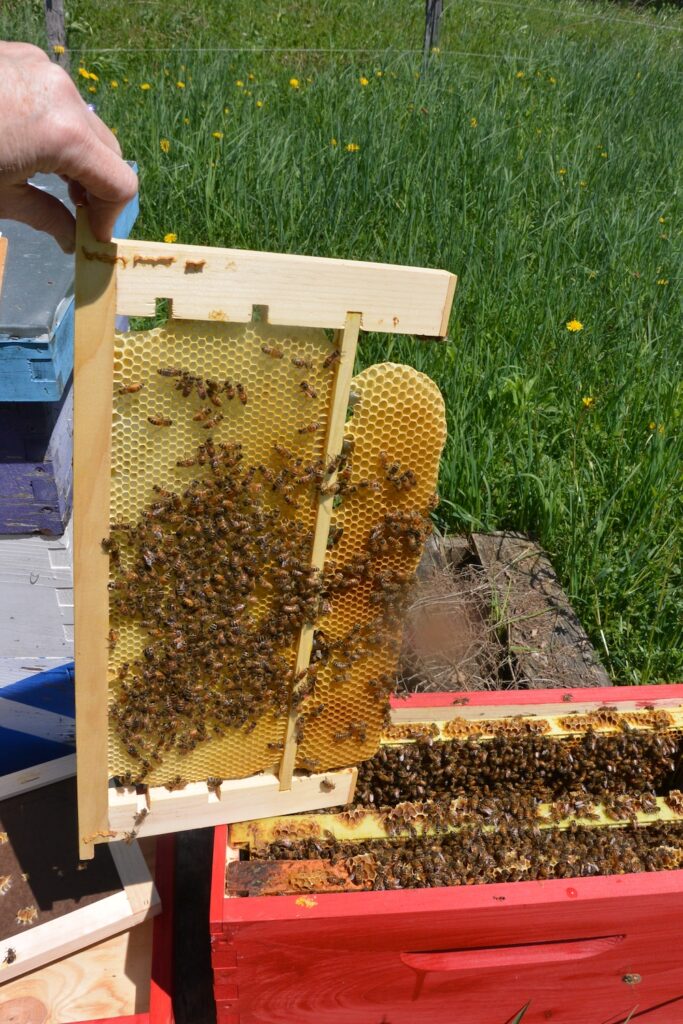
I removed the drone comb and put it back. The upper brood area is full of eggs. I would expect to see some swarm cup action in the next two weeks.

This nuc started on 5/1 with a frame left over from last year’s trials. They added some drone comb, but also started four swarm cells (indicated by the arrows). There are no other swarm cells started in this nuc.

the arrows indicate four cups that are charged with decent-sized larvae.

Close up of charged queen cups on the swarm queen frame.

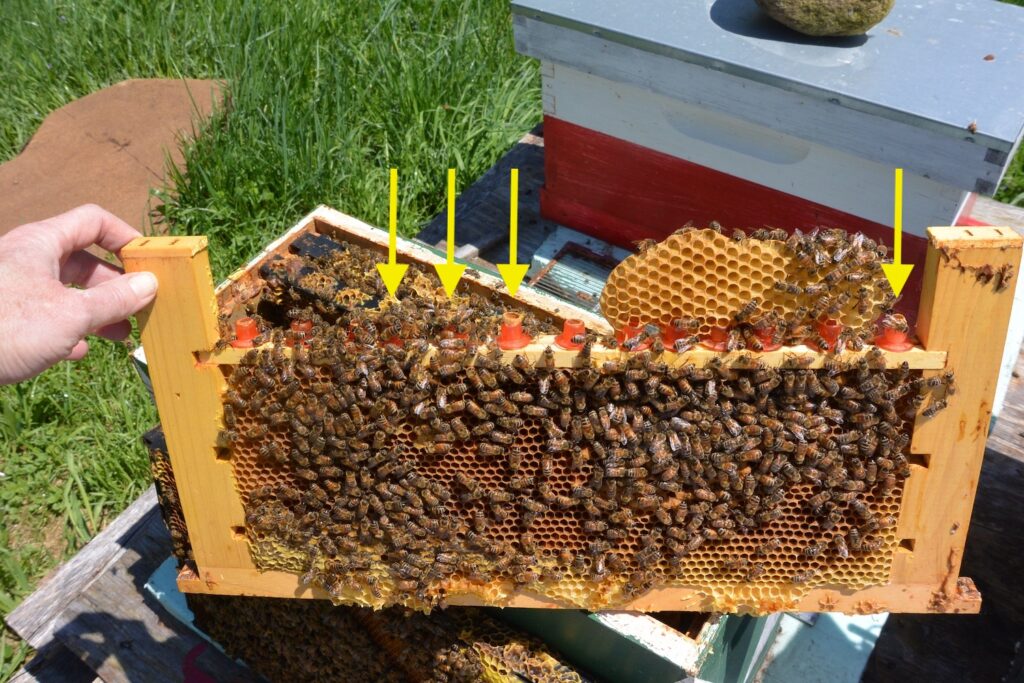
I was pressed for time yesterday, but will move them into a cell finisher and replace the frame to see if I can get another round out of this swarm cycle. I left the drawn comb since it was chilly and I would need to take time to carefully remove it around the one queen cell at the end.

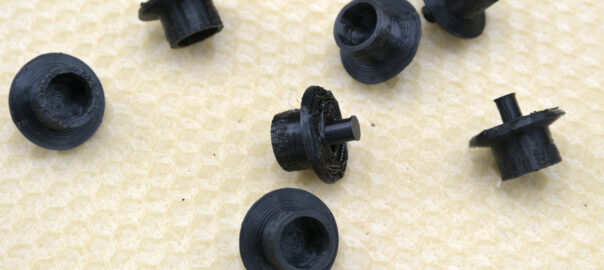
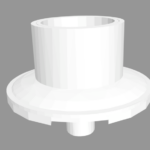
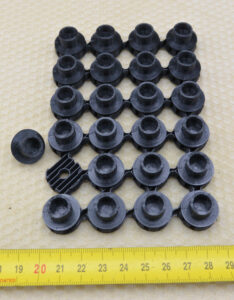
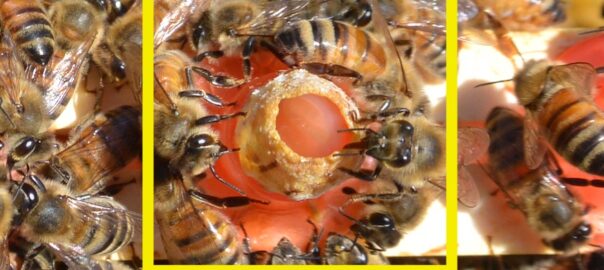
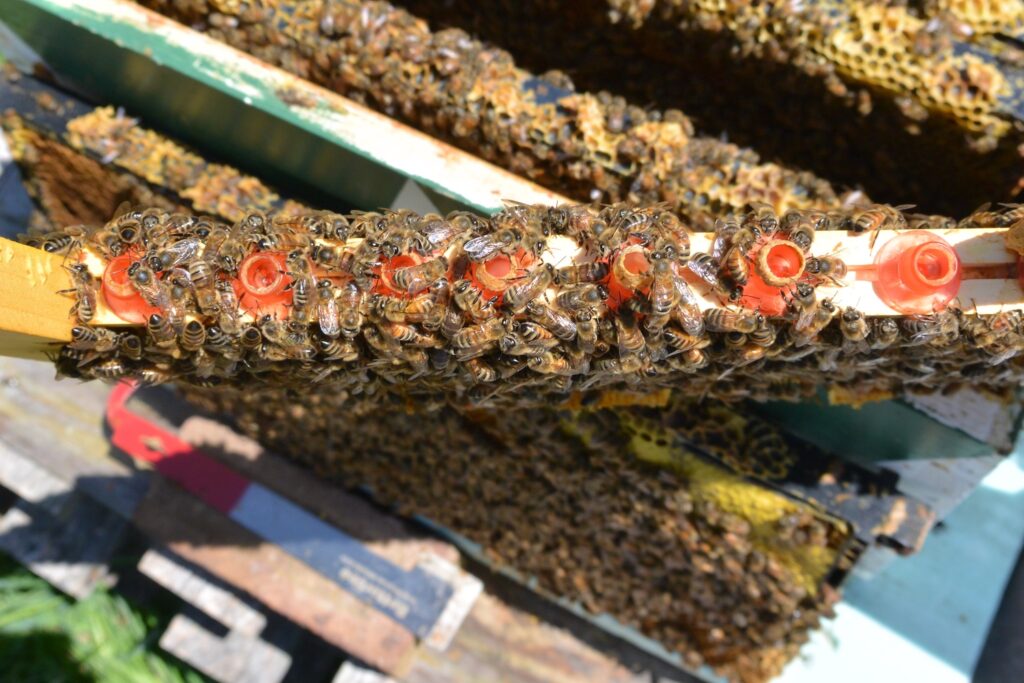
So far the behavior matches my expectations. You can see the queen cups are being worked (they were wax-dipped prior to placement). The workers narrowed the openings on all of the cups — which seems to be the first thing the workers do with the JZBZ cups. (Side note, perhaps another hint at a mechanical trigger to laying fertilized versus unfertilized eggs.) They have not started swarm cells elsewhere, which suggests they’re amenable to doing so where I suggested (on my frame so I can now steal them).

I am going to dig through my supplies to see if I can find darker JZBZ cups, though. It’s almost impossible for me to see eggs and small larvae against the red. (It’s possible that I missed other charged cells because of this, so I’ll know tomorrow if that’s the case or not.)


Northeast SARE LogoThis material is based upon work supported by the National Institute of Food and Agriculture, U.S. Department of Agriculture, through the Northeast Sustainable Agriculture Research and Education program under subaward number FNE24-102. Any opinions, findings, conclusions, or recommendations expressed in this publication are those of the author(s) and do not necessarily reflect the view of the U.S. Department of Agriculture.

9mm Queen Cups

Based on an STL file I found on Printables I did some editing in TinkerCAD to adapt the file to my own purposes for this study. The stems are just a touch thicker and I added a notch under the skirt (because I could) to make it easier to get the corner of my hive tool under it to pry out a fully capped queen cell.

Using a Snapmaker 350 printer, I batch-printed 24 cups with black PLA filament so I can easily see if it contains an egg or not. The printing requires supports, but the cups pop out pretty easily. On the Snapmaker, with the settings I used, it takes about 8 hours to print a batch of 24.

I used the same original STL file to design the base only for the wax cups. Although it’s very tempting to keep churning out my own queen cups, I’m limiting the first run to 48. Once I know what the bees do (or don’t do) with them, then I can make further decisions about them.

I will make more bases for my wax queen cups from the black filament since I ran out of the white. I don’t anticipate the base colors to affect the queen’s use of the cups.


Northeast SARE LogoThis material is based upon work supported by the National Institute of Food and Agriculture, U.S. Department of Agriculture, through the Northeast Sustainable Agriculture Research and Education program under subaward number FNE24-102. Any opinions, findings, conclusions, or recommendations expressed in this publication are those of the author(s) and do not necessarily reflect the view of the U.S. Department of Agriculture.

""

Vegetation Management

In the fall of 2021 I experienced my worst robbing year ever. The goldenrod and knotweed came and went, the bees packed in the honey, the asters made their feeble debut. Normally cold temperatures quickly follow, a cue that keeps the bees tucked in tight and minding their own business.

Recently (and by that I mean the last two or three years), those feeble asters signal something else; a fall dearth with no brood and warm weather. With no brood to tend, and temperatures good for flying, all that’s left is foraging — right in each others’ hives. Feeding sugar syrup didn’t really help. Who’d want sugar water when there’s all this delicious honey to be had for the taking?

To address this, I’m testing some goldenrod management. If mowed, goldenrod will regrow and blossom, but out of step with the natural crop. Thus begins my experiment:

""
The first cut, made June 6. About 12 feet wide and at about 6 inches off the ground. I’d like to say it follows the apiary fence, but I simply didn’t walk straight.
The first cut a week later. I started a second cut to the right.
The second cut, June 14, has the same dimensions and follows the general path of the first.

I’ll do one more cut next week. If this works, this first cut will bloom after the natural goldenrod dies off, the second a week later, and then the third. I’ll track which cut gives the most growth and flowers, if I cut too early or too late, and search for a sweet spot to prolong my goldenrod bloom.

The other step I’ll try is to seed some Canada goldenrod, a variety that blooms later than the tall goldenrod common to my field.

The real metric will be: does this affect the robbing frenzy?


Not all goldenrod produces nectar for bees. If you’re interested in identifying goldenrod species in your forage area try this field guide (pdf)